designed for the way women work.
Greenhouses Come in All Shapes and Sizes
Category: Presenting "The Curious Gardener"
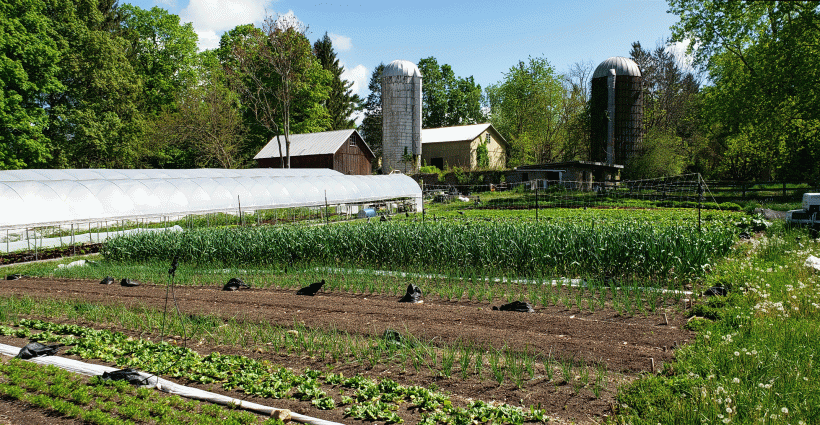
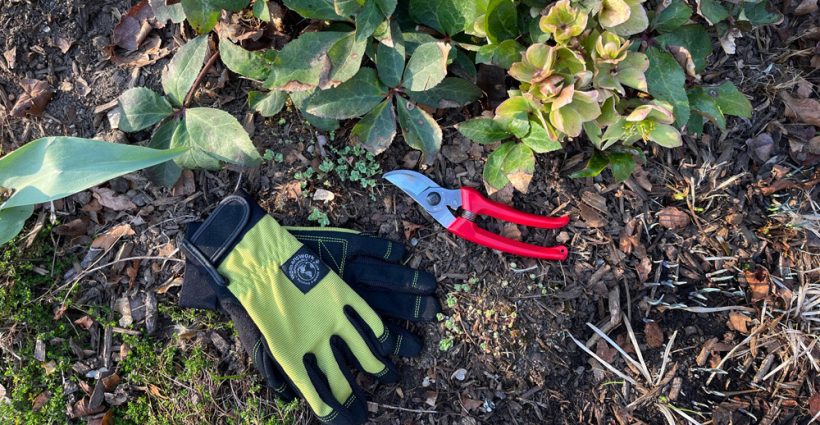
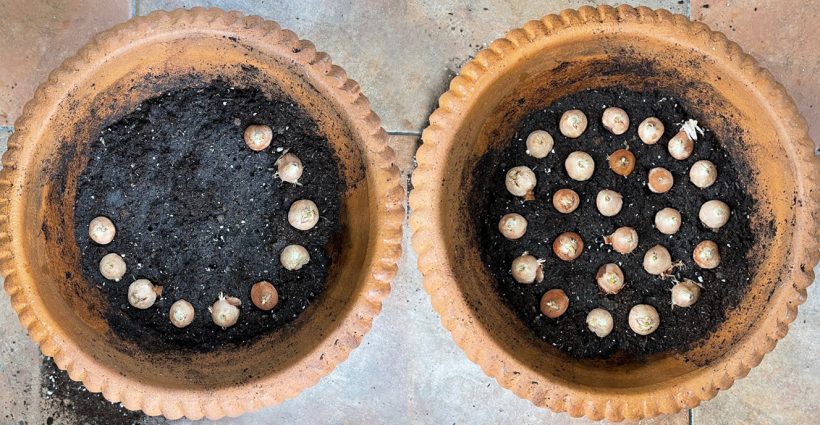
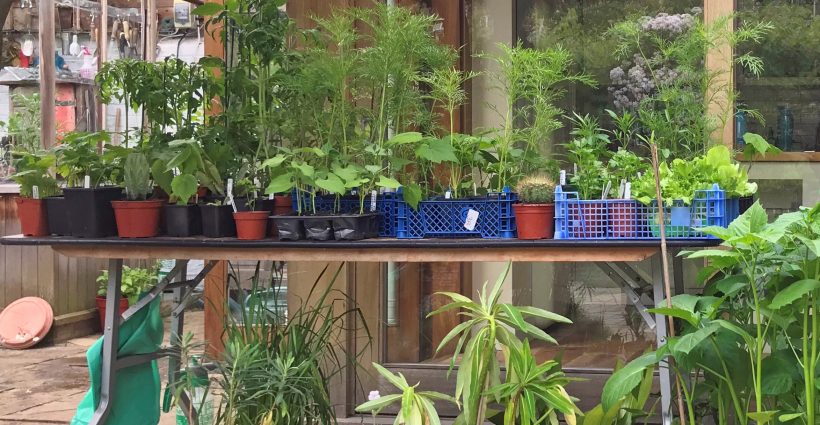
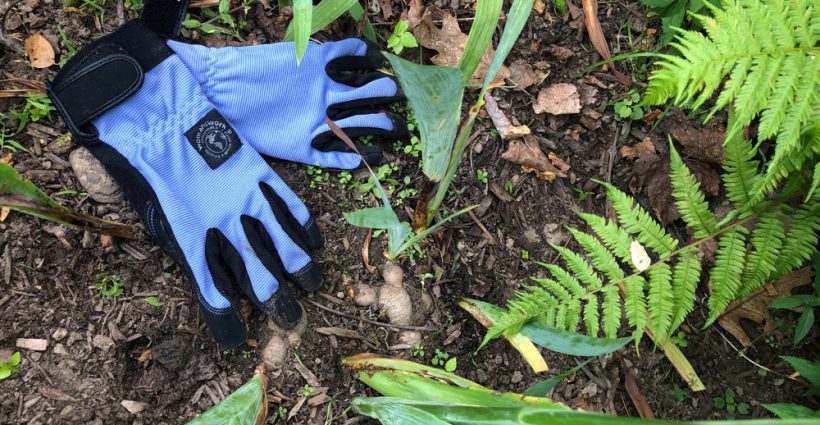
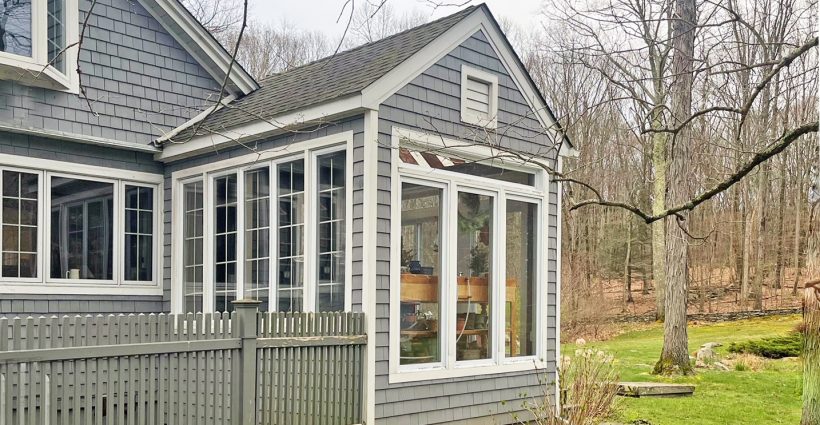
Greenhouses come in all shapes and sizes. A small container with seed starting mix and a clear plastic top serves as the simplest of "greenhouses" for seedlings because it provides shelter for plants. A step up from that is a temporary greenhouse that can be assembled and disassembled each year, and sits on a deck or on a patio next to the house. It consists of a lightweight metal frame with shelves covered in clear plastic with a zippered window…
Greenhouses come in all shapes and sizes. A small container with seed starting mix and a clear plastic top serves as the simplest of "greenhouses" for seedlings because it provides shelter for plants. A step up from that is a temporary greenhouse that can be assembled and disassembled each year, and sits on a deck or on a patio next…